DIY Cat cone is your rescue if you recently returned your cat from the vet following surgery or injury care. They may have a new accessory: an Elizabethan collars (e-collar), a.k.a. a cat cone.
Unfortunately, your feline friend may not appreciate this new plastic contraption, nicknamed “the cone of shame” by some cat owners.

But, fortunately, you can craft DIY cat cones out of common household items. These suggestions are basic and easy to implement, and they’re worth a shot if you want to make your cat more comfortable.
They still perform the most crucial function, which is to keep your cat from licking, scratching, and potentially infecting their wound.
Make 6 Unique DIY Cat Cones With Us
If you are sick of expensive yet boring cat cones then you can try our 6 new styles of cat cones ideas which are super budget-friendly, easy in making, and you can make all of this in less than 30 minutes.
We have created a cat cone with a paper plate, cardboard, leg socks, and whatnot.
1. Cat Cone Made From Poster Board Paper
The First, DIY collar on our list is made of poster board paper. It is simple, can be made easily with minimum stuff. So, check the guidelines now.
Material you need
- Scissors
- Poster board paper
- Tape
- Ruler
- Compass
- Measuring tape
- Pen
Method
Using any measuring tape, measure from the peak of your feline’s nose to her neck where her DIY collar will rest. After that add an additional inch to this measurement. For instance, I got 6 inches + extra inch = 7 inches
Cut a circle out of a piece of poster board paper. With a radius of 7 inches or a diameter of 14 inches. Cut a small line to the radius of the circle. Now, measure your cat’s neck size. I got 10 inches.
Now, divide this number by 4, which will be 2.5 inches. And, cut out a smaller circle with a radius of 2.5 inches. Cut this circle out of the center of the circle you made before.
Measure the circle to your cat’s neck and fold it into a cone shape. You want the collar to effortlessly slide on and off your feline’s head without befalling on its own. Use the tape to secure the cone in place. Now, the E- the collar is ready, and it will work effectively.
2. Easy Paper Plates Protective Elizabethan Collar
This is the simplest, money-saving, and easy DIY cat cones activity that you can make in 5 minutes. Yes, I am not kidding.
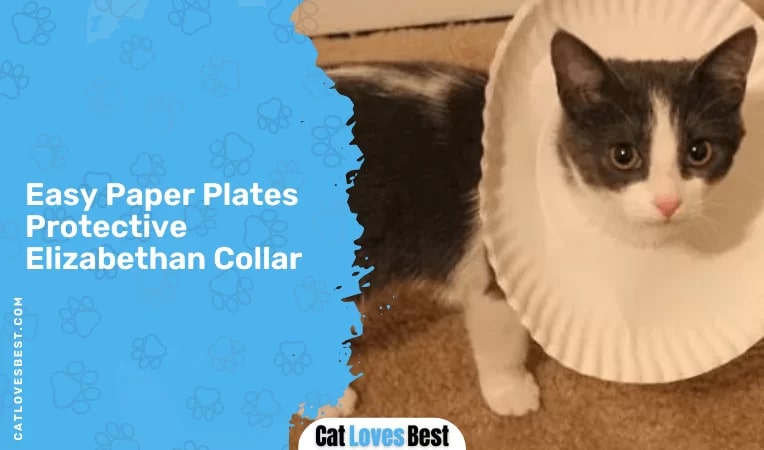
Check down below.
Material you need
- A big paper plate
- A pen
- A pair of scissors
Method
Place the paper plate and make a circle in the middle of the plate.
Then take a pair of scissors and cut the circle all the way. Simply place the plate with a hole inside your cat’s neck, and it is done.
Isn’t it too easy, cute, and quick?
3. DIY Soft Towel E Collar
Try making some easy super soft e collar for your kitty. For this, you don’t have to buy anything additional from the store. You can easily make it from house waste.
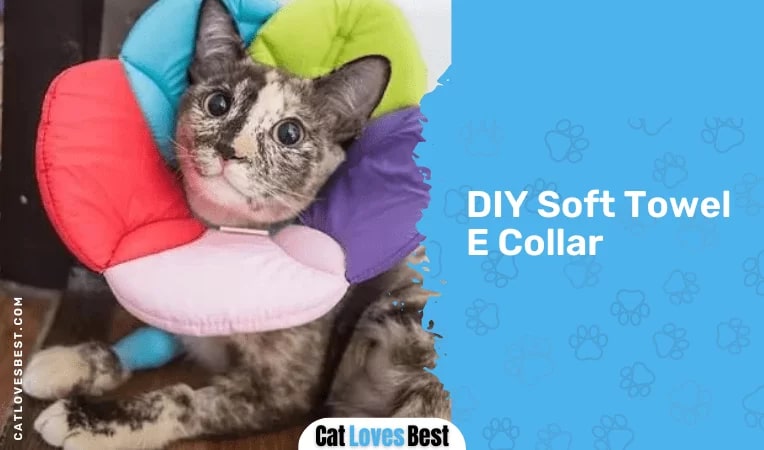
Material you need
- A piece of washcloth
- A sock
- A pair of scissors
Method
Now we are going to make a cone of shame with a washcloth, a pair of scissors and socks.
So, depending on the size of the cat takes the piece of the washcloth. Simply roll it from the longer side and put it all the way into the end of the sock.
And, clearly take your hand out.
Take the tip of the sock. Grab a little spot to make a kinda little triangle, so you can snip out a little opening that goes all the way through.
Now take scissors, and you are going to cut the remaining part of the sock in half all the way down till you get through the washcloth.
Now, lay this down on your cat’s neck set her head a little up, and bring the end up. Then take the inside of the first strip put it through the hole then draw it up. Tie it off and there you have a soft e collar for your kitty.
4. DIY Plastic Sheet Cat Cone
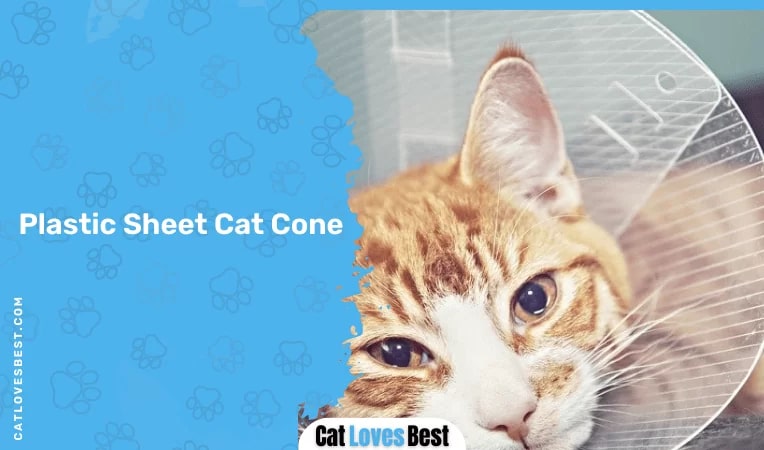
It’s time to quickly make cones from plastic sheets now!
Material you need
- Plastic sheet
- Tape
- A pair of scissors
- A pen
Method
First, you have to take the measurement of your feline’s neck.
Then take a round object to make a circle on the plastic sheet based on your measured length. Then make another bigger circle on the same. Make sure the second circle is bigger it will decide the width of the cone.
Using the bigger circle marking then cut out the circle. Then start cutting it from one side and remove out the inner circle. Like a ring shape.
Then join both the ends together as per the neck size with the help of tape. Make sure to secure it tightly. Then cover the inner areas of the circle with tape so, it doesn’t hurt her neck.
And, it’s done.
5. Pool Noodle Elizabethan Collar
Most of the time when we see pool noodles you think of them as a waste and always put them inside the garbage box right!
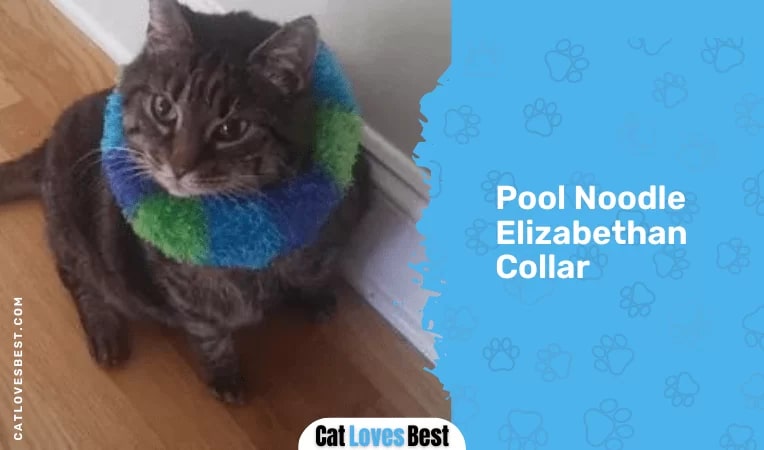
But, don’t make the same mistake this time guys. Because I am going to teach you an amazing trick to use it as a cat cone.
Material you need
- Pool Noodle
- A cat collar
Method
Let’s check out an alternative way to make a pet cone collar for your fur baby. We are going to make it out from pool noodles and a collar.
We will use small size pool noodles.
The first step is we will cut off many pieces of the foam then grab the collar according to your cat’s neck size. Then just put them in the middle pieces onto the collar one by one. Once it is full then fold the collar and close the buckle.
And, it’s done. You can simply tie the collar around her neck now.
6. Cat Cone Made With Cloth
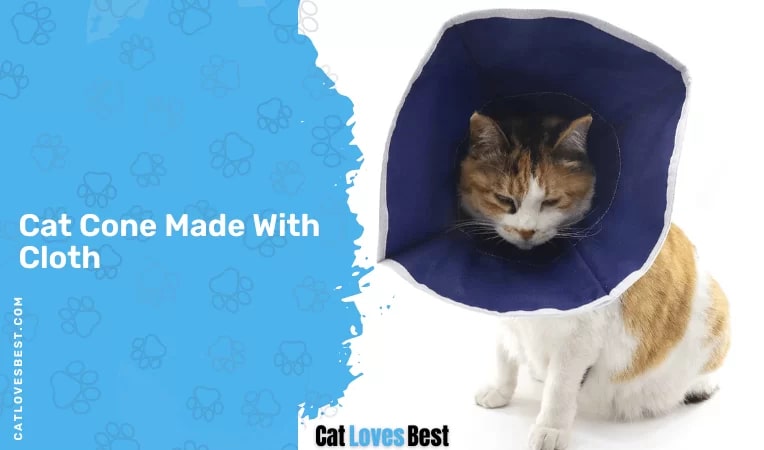
If you want to give your pet a better quality cat cone then try out this project.
DIY cat cone from soft fabric. It will not hurt your cat’s neck and yes, it will prevent her from licking infection, wounds, etc.
Material you need
- A long piece of soft fabric
- A pair of scissors.
Method
Simply take soft fabric from the store and place it on the table.
Then cut the cloth round shape using a pair of scissors. Then you have to make a hole in the middle of the circled cloth.
Gently and slowly put your cat’s head inside into the hole. And, now your cat will not be able to lick herself anymore.
Well, That’s Wrap!
We use a cat cone to protect the skin from irritation, injuries and cut from further damages. It prevents your kitty from licking the infection, damages skin, and restricts her movement.
If you are interested in some simple yet amazing DIY cat cones projects then go read above. Some of them are made from paper plates, plastic sheets, socks, napkins, etc.
These collar alternatives are sturdy, inexpensive, and can be made quickly which you can make easily at home with your kids too.
References
- Why E-Collars Get a Bad Rap –PetMD
- Elizabethan Collars in Cats – VCA Animal Hospitals
- ‘Cone of shame’ makes pets miserable – Science X

